How to Add Custom Field In WordPress
The first thing to do is to download the Advanced Custom Fields plugin.
Step 1: Make a new field group
A field group is a collection of custom fields.
All fields I plan on having on my movie review website fall in the same category, so it makes sense to put them in the same field group.
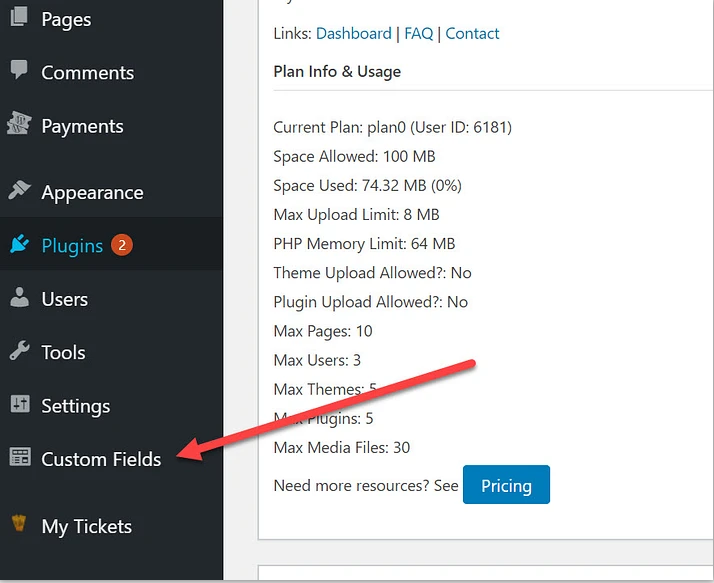
To create a new field group, go to Custom Fields in WordPress.

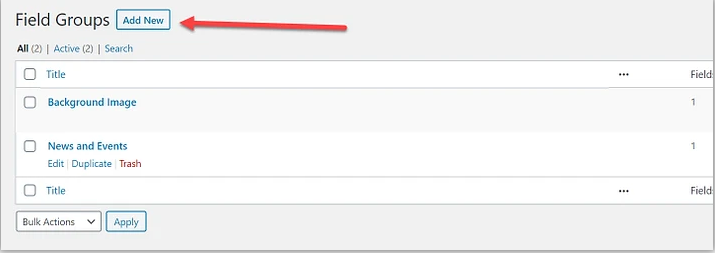
On the new screen, click on the Add New button.

Add New Field Group.

Step 2: Add fields to your group
Now it’s time to add individual custom fields.
Click on the blue Add Field button.

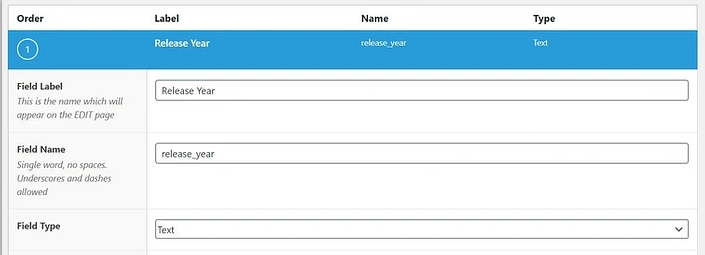
Start by typing in the Field Label.

The Field Name is then automatically populated. It’s used for placing the results in templates and coding. That would be used by your developer.
Choose your Field Type as well. For this one, we’re selecting a Text field type, but you have dozens of options from images to checkboxes and accordions.
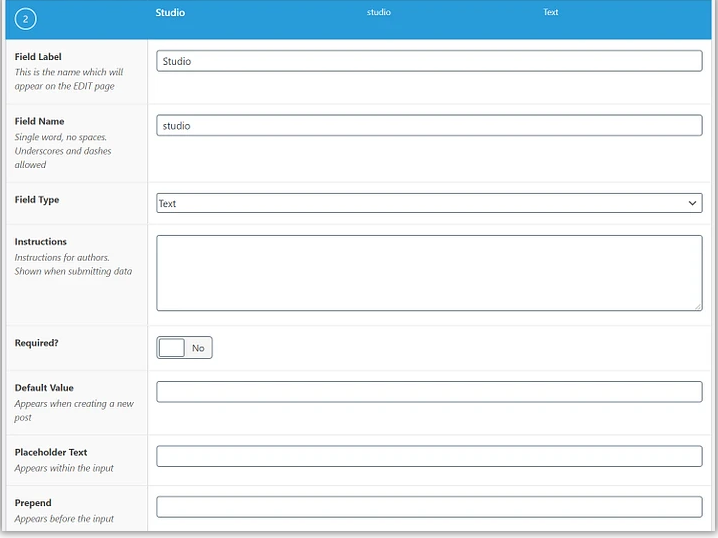
All field types have different options, but here are some of the items you’d potentially fill in for the text field type:
- Field Instructions – you may want to remind your writers to only type in four digits.
- Required – You could make this field a requirement before publication.
- Default Value – This is useful if you want a value to always show up, even when left empty.
- Placeholder Text – This shows up in the input fields when a writer is in the editor.
- Character Limit – It’s possible you don’t want writers to go over a certain character count.
That’s not all of the fields on there, but none of these are required. Therefore, it’s best to test them yourself. In addition, you may see other options depending on the Field Type.
Step 3: Add more fields to the group
After saving the first field, it’s time to add the studio and our movie rating fields.
Simply go back to the Field Group, click Add Field, then name them different things.
