Creating Custom Post Types In WordPress
You can easily create custom post types in WordPress using the Custom Post Types UI plugin.
Here’s the step-by-step process you need to follow.
Step 1 – Install And Activate The Custom Post Types UI Plugin
The first step to creating custom post types for your WordPress site is downloading, installing, and activating the Custom Post Types UI plugin.
Here’s how to do it.
– Login to your WordPress website dashboard
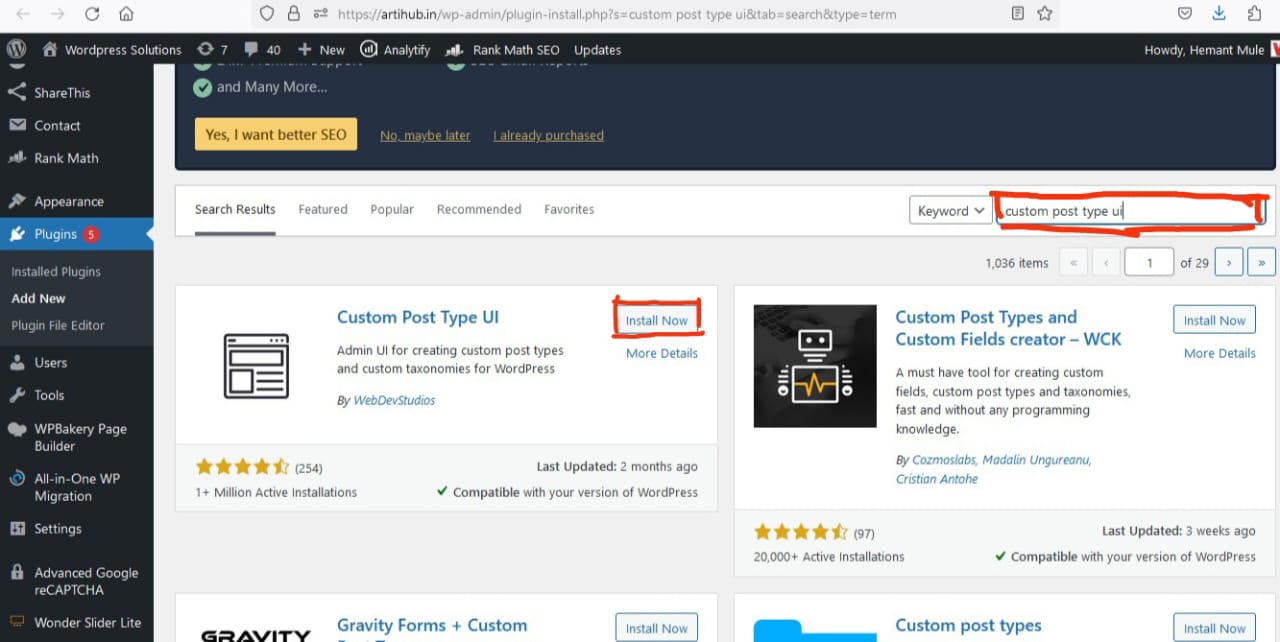
– Click Add New under Plugins in your WP dashboard.
– Search for Custom Post Types UI plugin in the search box on the plugins page.
– Click Install Now to download the plugin to your site.
– Click Activate to start running the plugin.
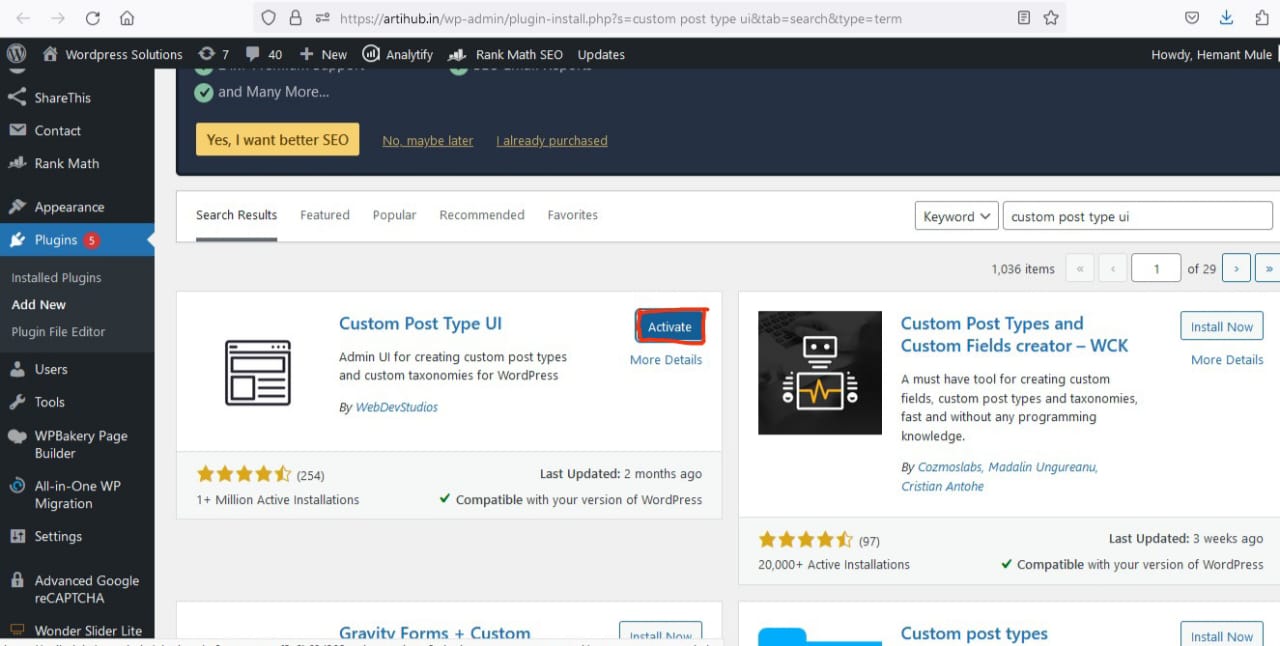
If your plugin is successfully installed and activated, it will redirect you to its welcome page.

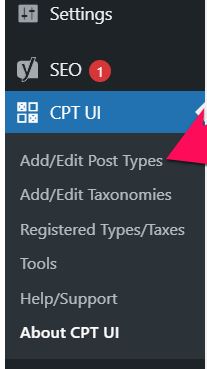
You can now see the plugin in your WordPress dashboard’s left menu, titled CPT UI.
Step 2 – Create Custom Post Types
Now that you’ve installed the relevant plugin, it’s time to configure it properly and create your first custom post type.
Here’s how to do it.
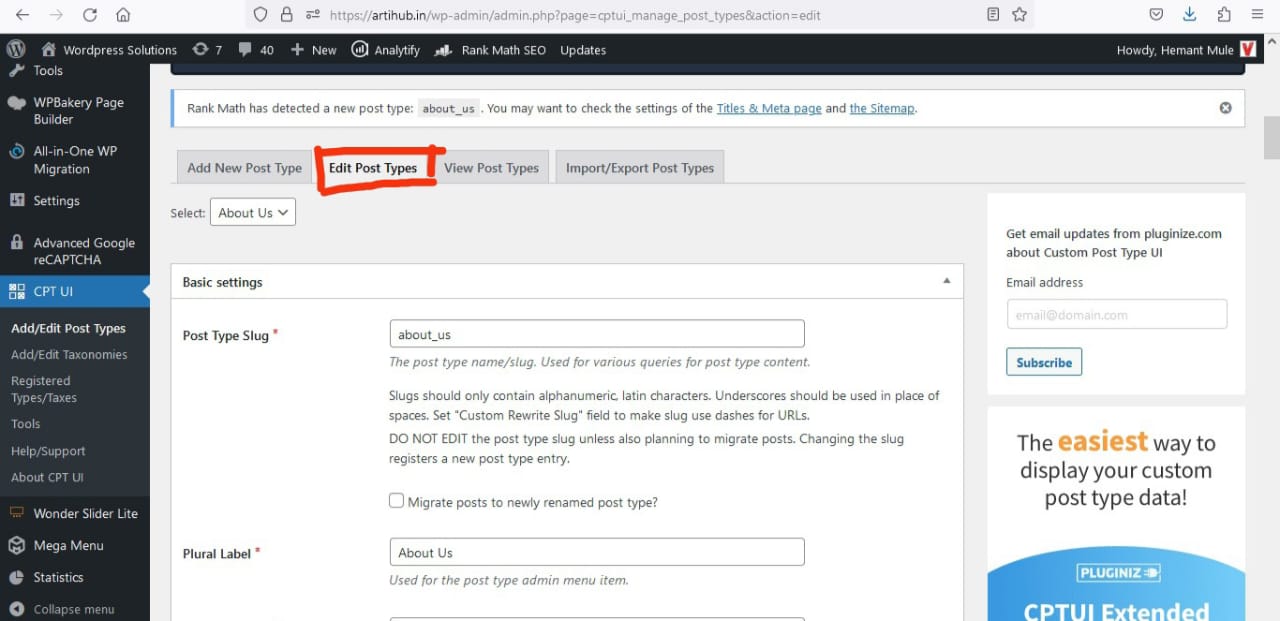
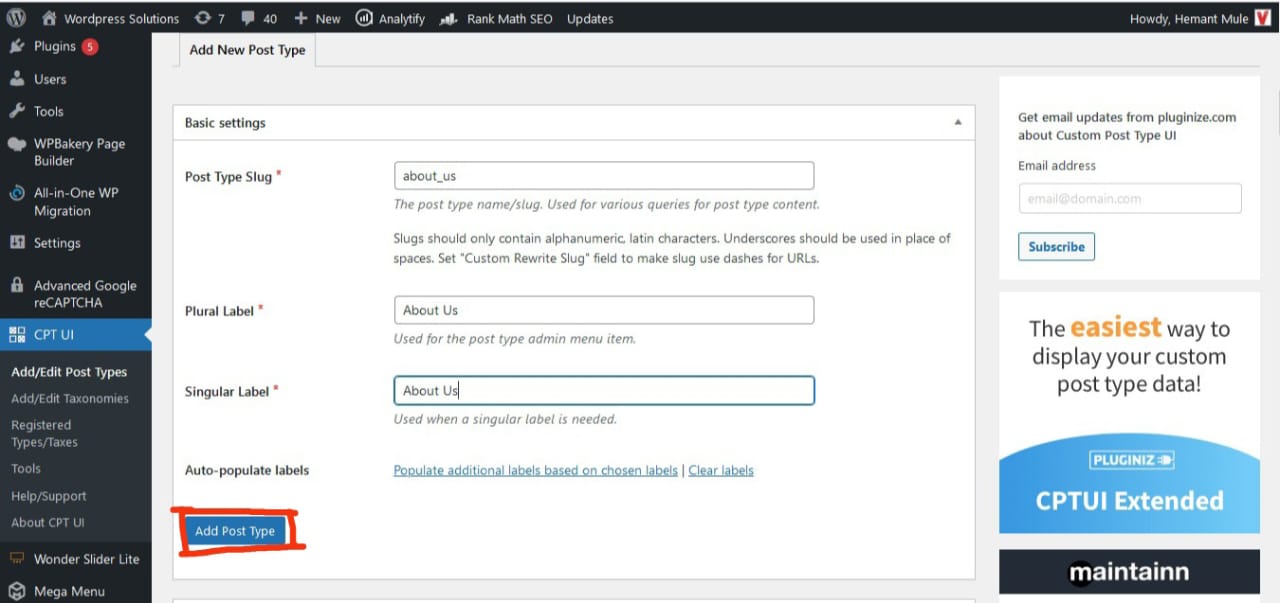
– Click on Add/Edit Post Types under CPT UI in your WordPress dashboard’s left menu.
– The Add/Edit Post Type section is where you will create your new custom post type. This page has three different areas – Basic settings, Additional labels, and Settings
– Start from Basic settings.
– In the Post Type Slug field, give your custom post type an alphanumeric slug (URL). You can also use Latin characters, underscores, and dashes in the slug. For reference, the slug for Page post type is “page.” So if your new custom post type is Products, use the same word in the slug for easier identification.
Click Add/Edit Taxonomies under CPT UI in your WordPress dashboard.
